Main Screen

The PHD2 main window is designed for ease of use and clarity.  Its intent is to support a quick and natural sequence of interactions to start and control guiding.  The basic steps for doing this are as follows:
  1. Connect to the PHD2 configuration profile that establishes your guide camera and mount connections
  2. Start a sequence of guide exposures to see what stars are available in the field of view
  3. Let PHD2 auto-select suitable stars and calibrate the guider
  4. Continue guiding on the target stars while using various display tools to see how things are going
  5. Stop and resume guiding as necessary

The majority of the screen is taken up by the display of the image from your guide camera - under normal nighttime conditions, that will show the stars available for guiding.  The display is automatically adjusted for size, brightness, and contrast so you can view the available stars.  However, these adjustments are done only for display purposes.  Internally, PHD2 operates on the raw, un-adjusted data in order to maximize guiding accuracy.  This display can also be used to manually select a guide star by clicking on it although it's better to use the 'Auto-select star' feature..  You can adjust the slider control to see even the faintest stars in the field.

Basic control

Near the bottom of the screen are the main controls.  PHD2 is largely controlled by these buttons and sliders, with additional pull-down menus at the top of the window for more detailed functions. Moving from left to right in the window, the primary buttons are as follows:

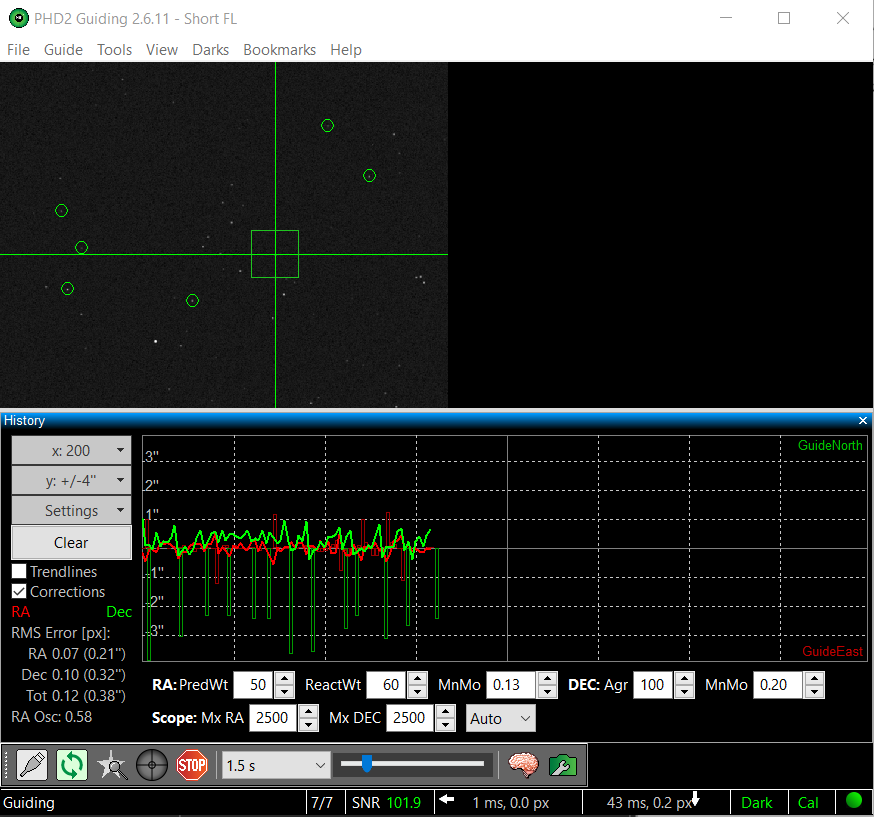
Connect equipment button
Activates the PHD2 profile that defines your equipment connections.  If you want to connect the same equipment that was last connected, you can shift-click this button.


Loop exposures button
Starts a sequence of repeated guide exposures with the guide camera (looping), with each resulting image (guide frame) being displayed in the display window.  If guiding is subsequently started, clicking on the Loop Exposures button again will pause guiding while continuing to take guide exposures.


Auto-select Star button
Triggers an automatic selection of the best guide star candidates in the display window. This selection is done quantitatively, taking many things into account - star saturation, minimum star size, signal-to-noise ratio, proximity to other stars, proximity to the edge of the display window. etc.  You can shift-click on this button to de-select the star.

Guide button
Starts calibration, if needed, and then starts guiding on the selected stars.

Stop button
Stops both guiding and looping.


Exposure duration drop-down
A drop-down list of exposure durations in seconds (Auto, 0.01s to 15s, and a Custom: option which you can assign your own value to using the Edit Custom... option).  Use this drop-down to set the guide camera's exposure duration.  If your camera does not support an exposure duration, PHD2 will do its best to emulate that duration.  For example, if you use a short exposure webcam, your maximum true exposure duration might be only 1/30th of a second.  If you select one second as the exposure time, PHD2 will automatically acquire images for one second and stack them to create a composite image for guiding. 


Gamma adjustment slider
A slider control for adjusting screen stretch and contrast, essentially a "gamma" adjustment.  PHD2 automatically adjusts the display to account for the darkest and brightest pixels in the image, and the slider is used to fine-tune the display to better see the stars.  This may be useful, for example, if you are trying to focus the guide camera for the first time and need to see the large, out-of-focus star image.  Moving the gamma slider only makes the display brighter or dimmer for your viewing.  PHD2 always uses the raw pixels from the camera for guiding, and moving the gamma slider has no effect on guiding.  A display of completely white or completely black is usually an indication that no stars are available in the field of view or the camera is out-of-focus.  The automatic gamma-stretching of the image is a very common source of confusion for users because they do not adjust the gamma slider properly to see faint stars on the display window.


Advanced settings (Brain Button)
This brings up the Advanced Settings dialog for making detailed adjustments to the guiding operations.  An important design goal of PHD2 is to minimise your need to change these parameters, but there are adjustments available here that can help you understand and improve your guiding.


Camera settings buton
Depending on the camera, this button may be enabled to provide access to a configuration dialog unique to the camera.


Menus

The pull-down menus above the main guider display are used to access a variety of functions.  These are described in the Darks, Tools and Utilities, and Monitoring Tools sections of this help document.

Status Bar


The status bar at the bottom of the main window is used to display messages and status information that will help you keep track of guiding operations.  

Near the center of the status bar are fields showing the current state of the guide stars.  The leftmost field shows the number of guide stars currently being managed.  In some cases, the first number may be one - that happens during stabilizaton periods and when the guide star list is being re-evaluated.  The next field to the right shows the SNR of the primary (or single) star in the guiding star list. If the SNR value drops below 10, its value will be shown in yellow as a warning that you may encounter some 'lost-star' events.  In single-star guiding mode, if the guide star is saturated, the field to the left of SNR will show 'Saturated' in a red typeface.

To the right of the star status fields are two text fields showing the latest RA and Dec guide commands.  These show the size of the guide pulse, the guide star displacement size in pixels, and an arrow showing the direction.  The arrows follow the usual compass conventions: Dec up/down corresponds to north/south, RA left/right corresponds to west/east.  All of this information is captured in the log files and displayed in the various graphical tools, and those are what you should use for visualizing your guiding performance.  These status fields are there only to give you a quick visual clue when something is behaving unusually.

The rightmost panels in the status bar show icons that give you visual clues about the current state of PHD2.  These icons are color-coded to give you a dashboard view of current status and have the following meanings:

'Dark' - red means neither a dark library nor a bad-pixel map is being used, green means one or the other is in-use.  If you're using a bad-pixel map, the text will say 'BPM' rather than 'Dark'

'Cal' - shows the state of calibration.  Red means the mount is currently uncalibrated, while yellow means there is a calibration but it isn't being adjusted automatically to account for scope pointing position.  This will happen when you aren't using an ASCOM or 'aux' mount connection in PHD2 or if you have mistakenly disabled declination compensation.  If the icon is yellow, you will generally need to recalibrate when you move the scope to different declination positions.

"The Ball" - shows whether all the equipment in your profile has been successfully connected.  If the ball is yellow, some components are not connected, while green means everything is connected.

If you hover the mouse cursor over any of these status icons, you'll see details about the current state.